Introduction
This article is about a solution we found using imgix to dynamically update the color of any product in an HTML<img> element without using SVGs or any CSS.
CarTrawler is a B2B travel technology company based in Dublin, Ireland. We specialize in car rentals and ground transportation services and help bring car rental solutions to nearly one billion passengers annually.
Recently we undertook a project to overhaul the car images library that we use to display car rental search results. We wanted to have consistent, high-resolution images that we could resize and optimize on the fly to deliver the best results for our customers over multiple different touch points.
CarTrawler technology allows our partners to display car rentals from up to 2,000 separate car rental providers. We deliver hundreds of vehicles within seconds to any device to give our customers the best and broadest choice of car rentals possible.
We also wanted to take this opportunity to add a new piece of functionality to our library: dynamically-colored cars. Until now, the idea of having multiple different-colored cars would require storing every possible variant and loading them individually. This would kill our ability to scale, so it has always been considered unachievable. To implement this feature successfully, it was vital that we be able to dynamically change the color of each of these cars without affecting the performance of the page, and without needing additional front-end changes to the code.
After some initial research, it was clear that imgix would meet our performance, reliability, and scaling requirements, but it took some additional digging to craft the perfect solution for adding dynamic coloring. After a lot of trial and error for potential solutions, we were finally able to find the perfect answer using a combination of the imgix watermark and monochrome functionality.
In this post we'll share how we achieved this and what the results have looked like so far.
Note: We are using cars but believe this technique could be applied to any product.
Step 1
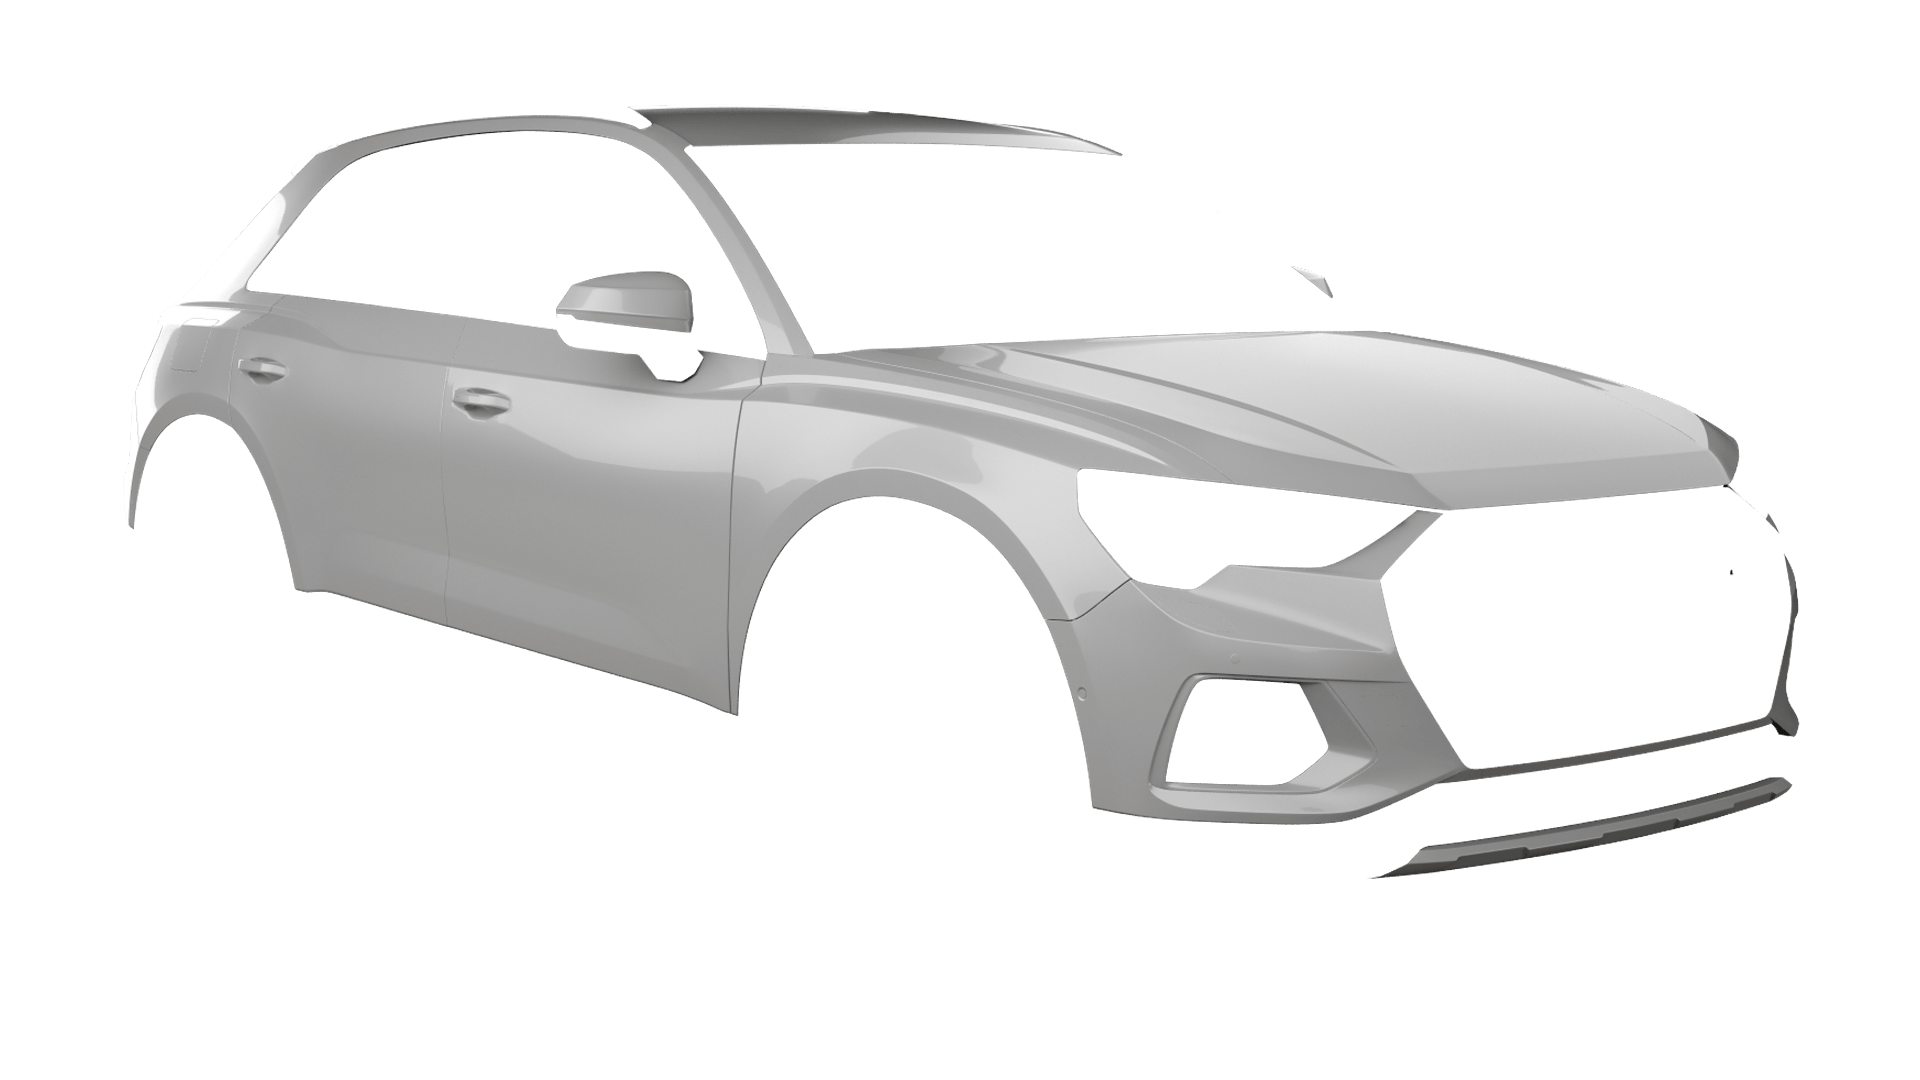
First, we need a base layer. This is the default layer we would display without any dominant color. This layer should look good on its own as it will also be used as our fallback image.

https://ddools.imgix.net/cars/base.png
Step 2
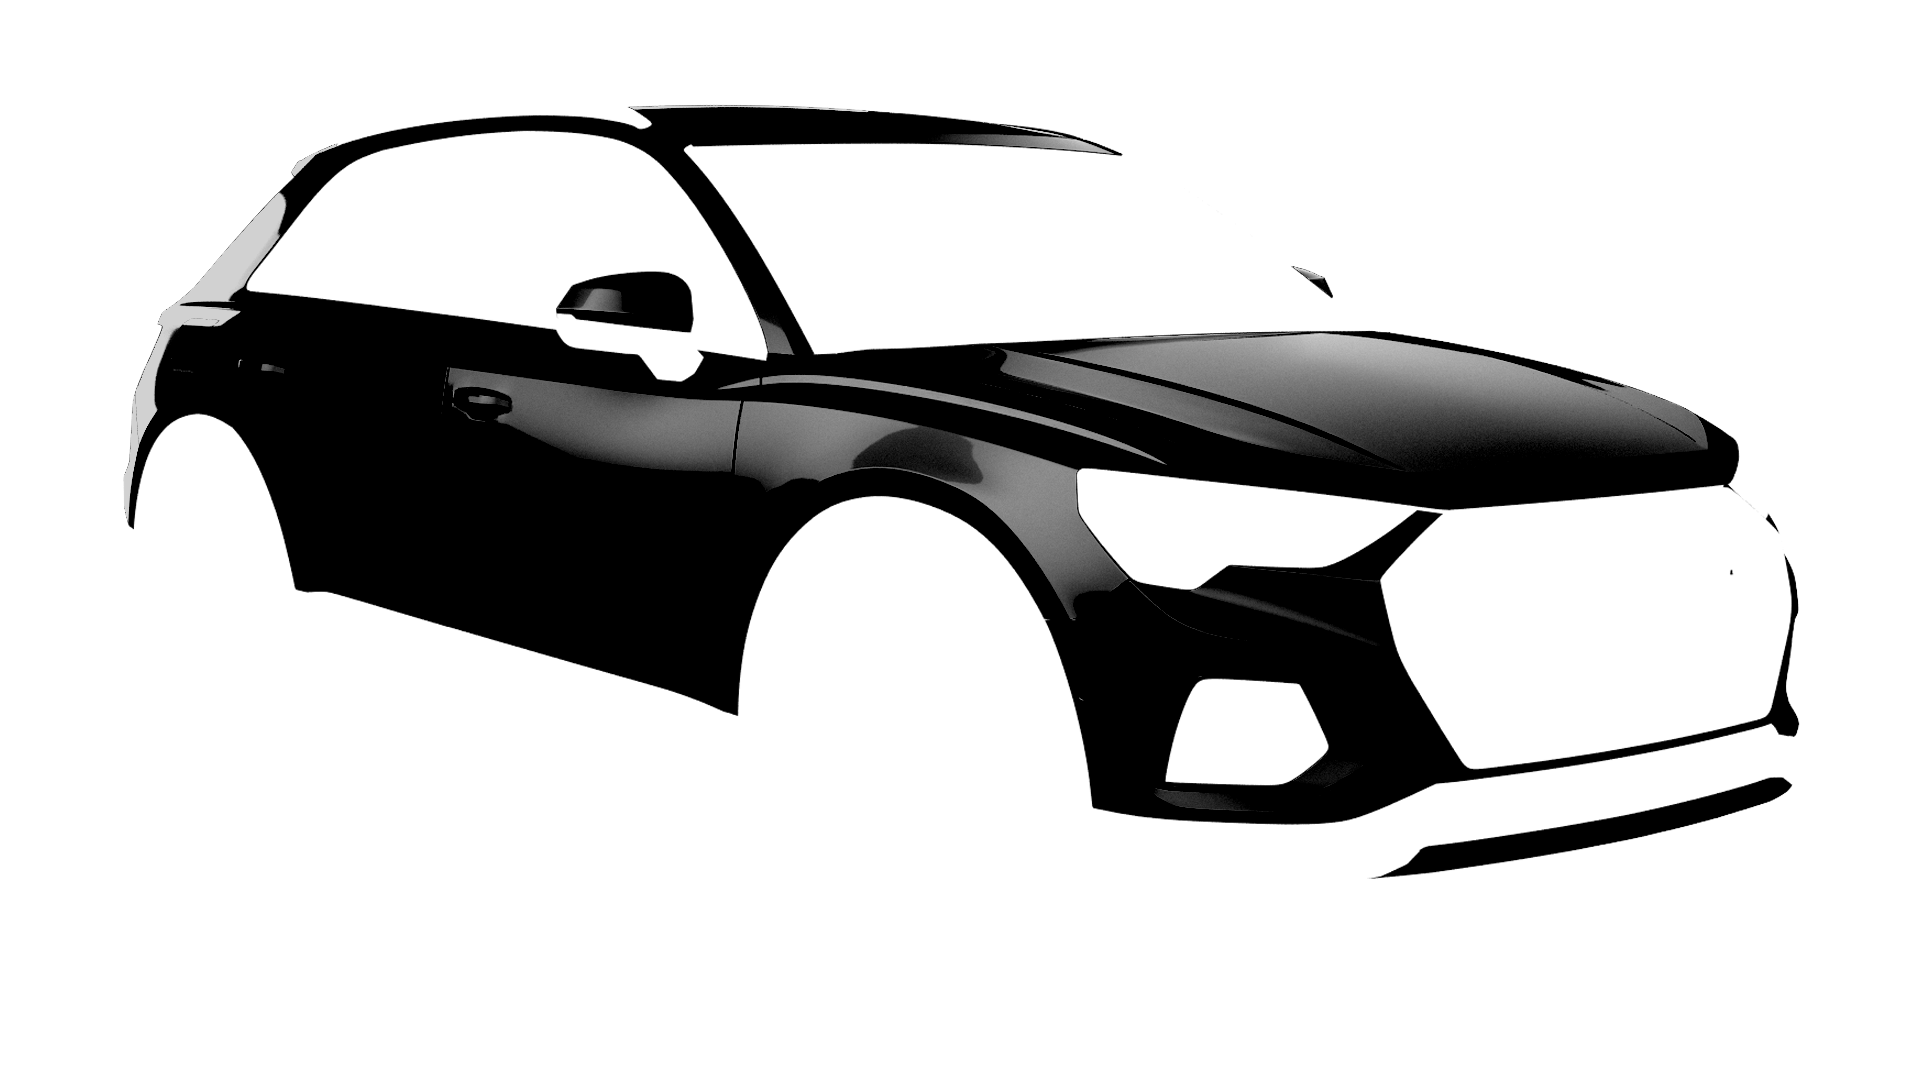
Create a second image, a paint layer that is the same dimensions as the base layer. We only want this transparent image to contain the areas you want to dynamically color.
https://ddools.imgix.net/cars/paint.png
Step 3
This is where things get interesting. We are going to leverage multiple parameters from the imgix API to display the paint layer on top of the base layer and display both as a single image.
Let's apply a color to our paint layer
https://ddools.imgix.net/cars/paint.png?w=600&bri=-18&con=26&monochrome=000000
We changed the color by applying a standard black hexadecimal value of #000000. But we can use any of the millions of hexadecimal values available.
Let's look at the imgix parameters being used:
w: The width we want the image to bebri: Adjusts the brightness levelcon: Adjusts the amount of contrastmonochrome: The dynamic hex color
Because we are going to stack our layers via imgix, we will need to encode our paint layer; That means replacing some of the characters in the URL with their encoded values.
https%3A%2F%2Fddools.imgix.net%2Fcars%2Fpaint.png%3Fw%3D600%26bri%3D-18%26con%3D26%26monochrome%3D000000
Step 4
Now we are going to use imgix's watermark parameters to stack the paint layer on top of our base layer.
https://ddools.imgix.net/cars/base.png?w=600&mark-align=center,middle&mark=
Let's look at the parameters being used:
w: This is the image width and it must be identical for both layers.mark-align: This centers the paint layer on top of the base layer.mark: This is where the encoded paint layer goes.
In the end, you will get a single URL that will look like something like this:
https://ddools.imgix.net/cars/base.png?w=600&mark-align=center,middle&mark=https%3A%2F%2Fddools.imgix.net%2Fcars%2Fpaint.png%3Fw%3D600%26bri%3D-18%26con%3D26%26monochrome%3D000000
That gives the car in black:
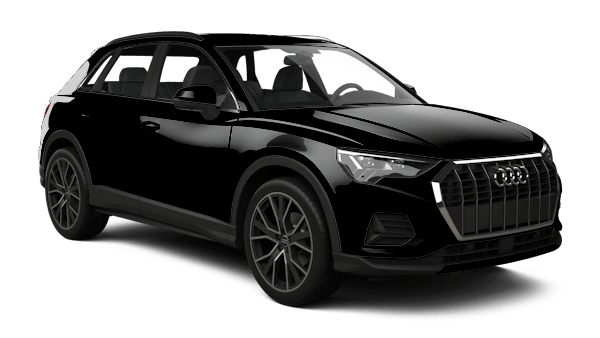
Once you are all set up the last six digits in the link represent the hexadecimal value that can be updated to dynamically change the paint layer.
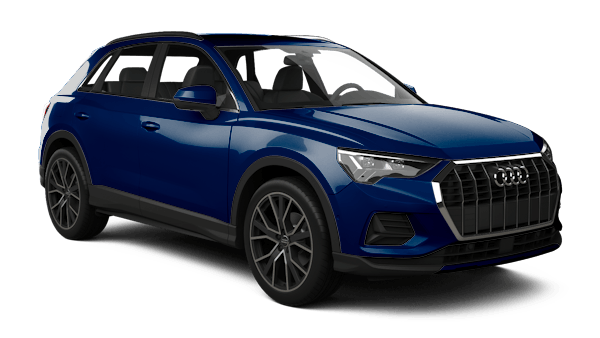
https://ddools.imgix.net/cars/base.png?w=600&mark-align=center,middle&mark=https%3A%2F%2Fddools.imgix.net%2Fcars%2Fpaint.png%3Fw%3D600%26bri%3D-18%26con%3D26%26monochrome%3D0d4671
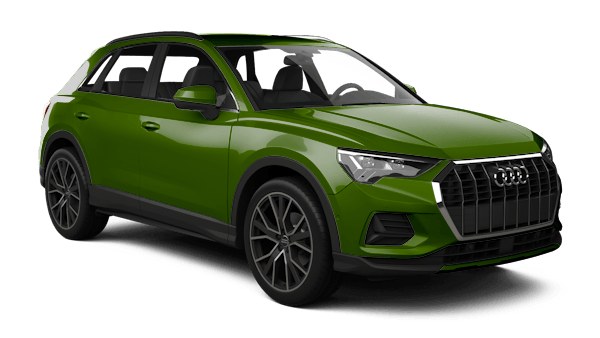
https://ddools.imgix.net/cars/base.png?w=600&mark-align=center,middle&mark=https%3A%2F%2Fddools.imgix.net%2Fcars%2Fpaint.png%3Fw%3D600%26bri%3D-18%26con%3D26%26monochrome%3D63803a
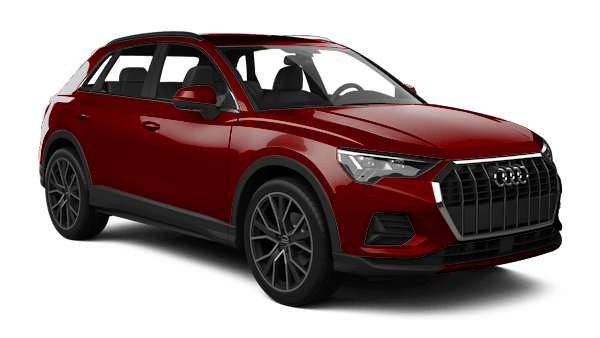
https://ddools.imgix.net/cars/base.png?w=600&mark-align=center,middle&mark=https%3A%2F%2Fddools.imgix.net%2Fcars%2Fpaint.png%3Fw%3D600%26bri%3D-18%26con%3D26%26monochrome%3D841210
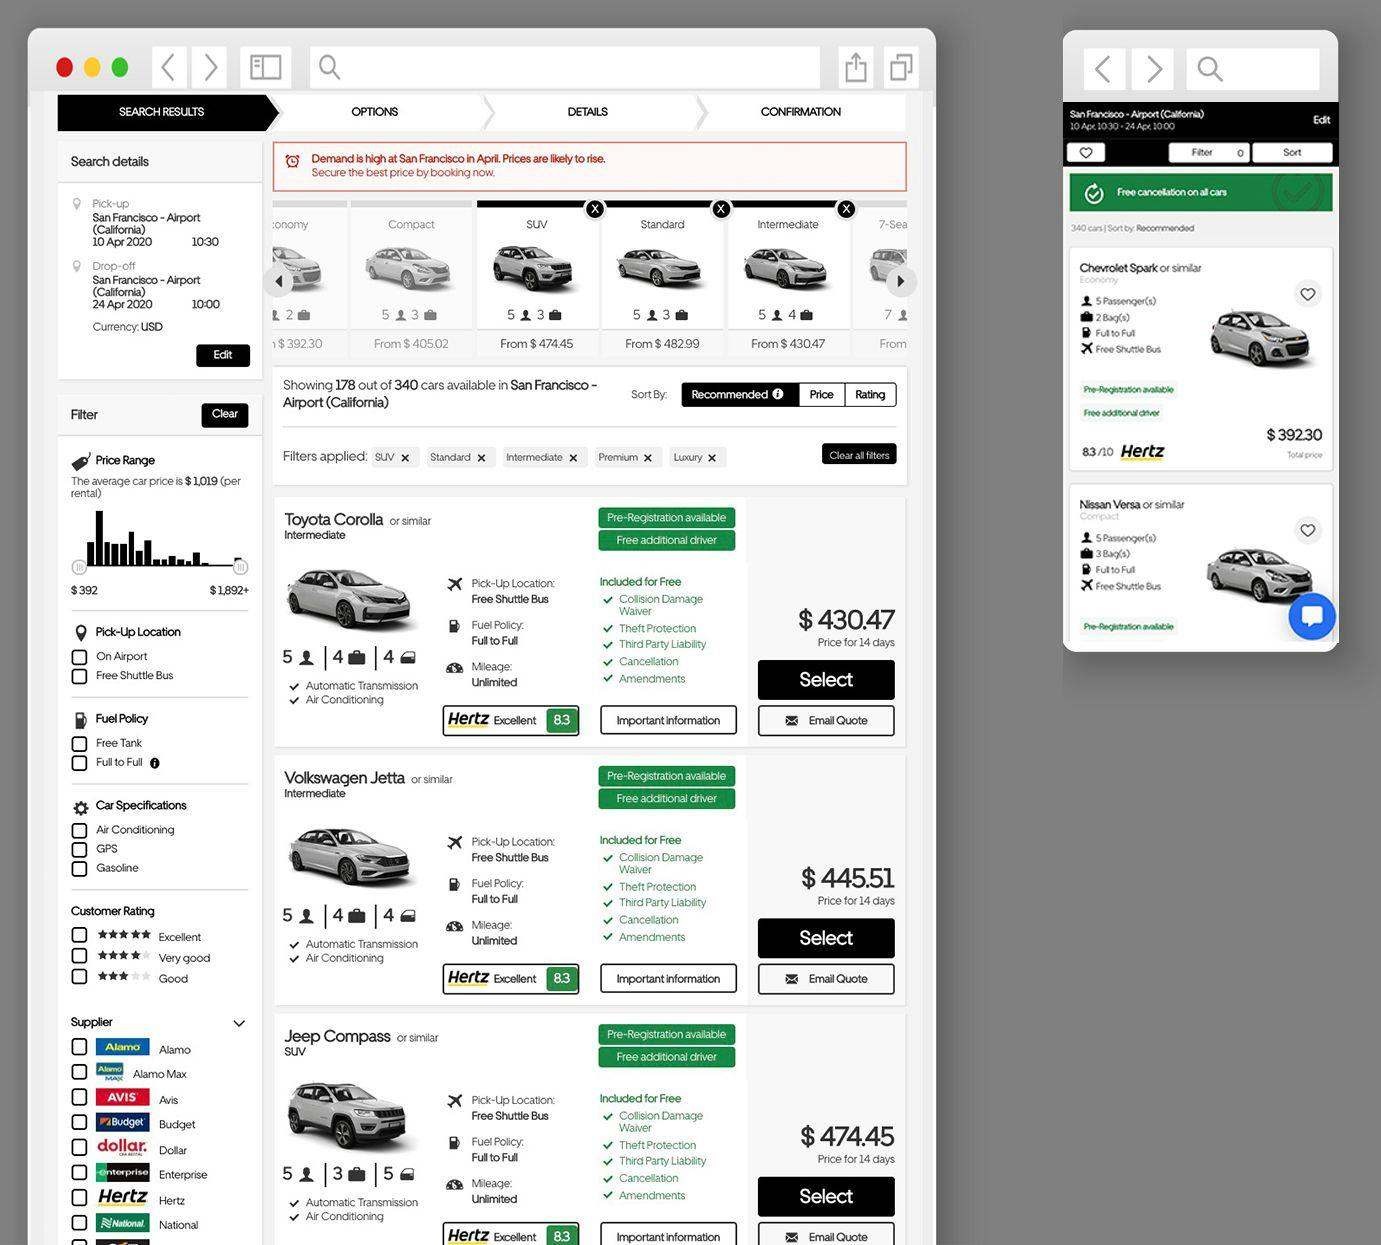
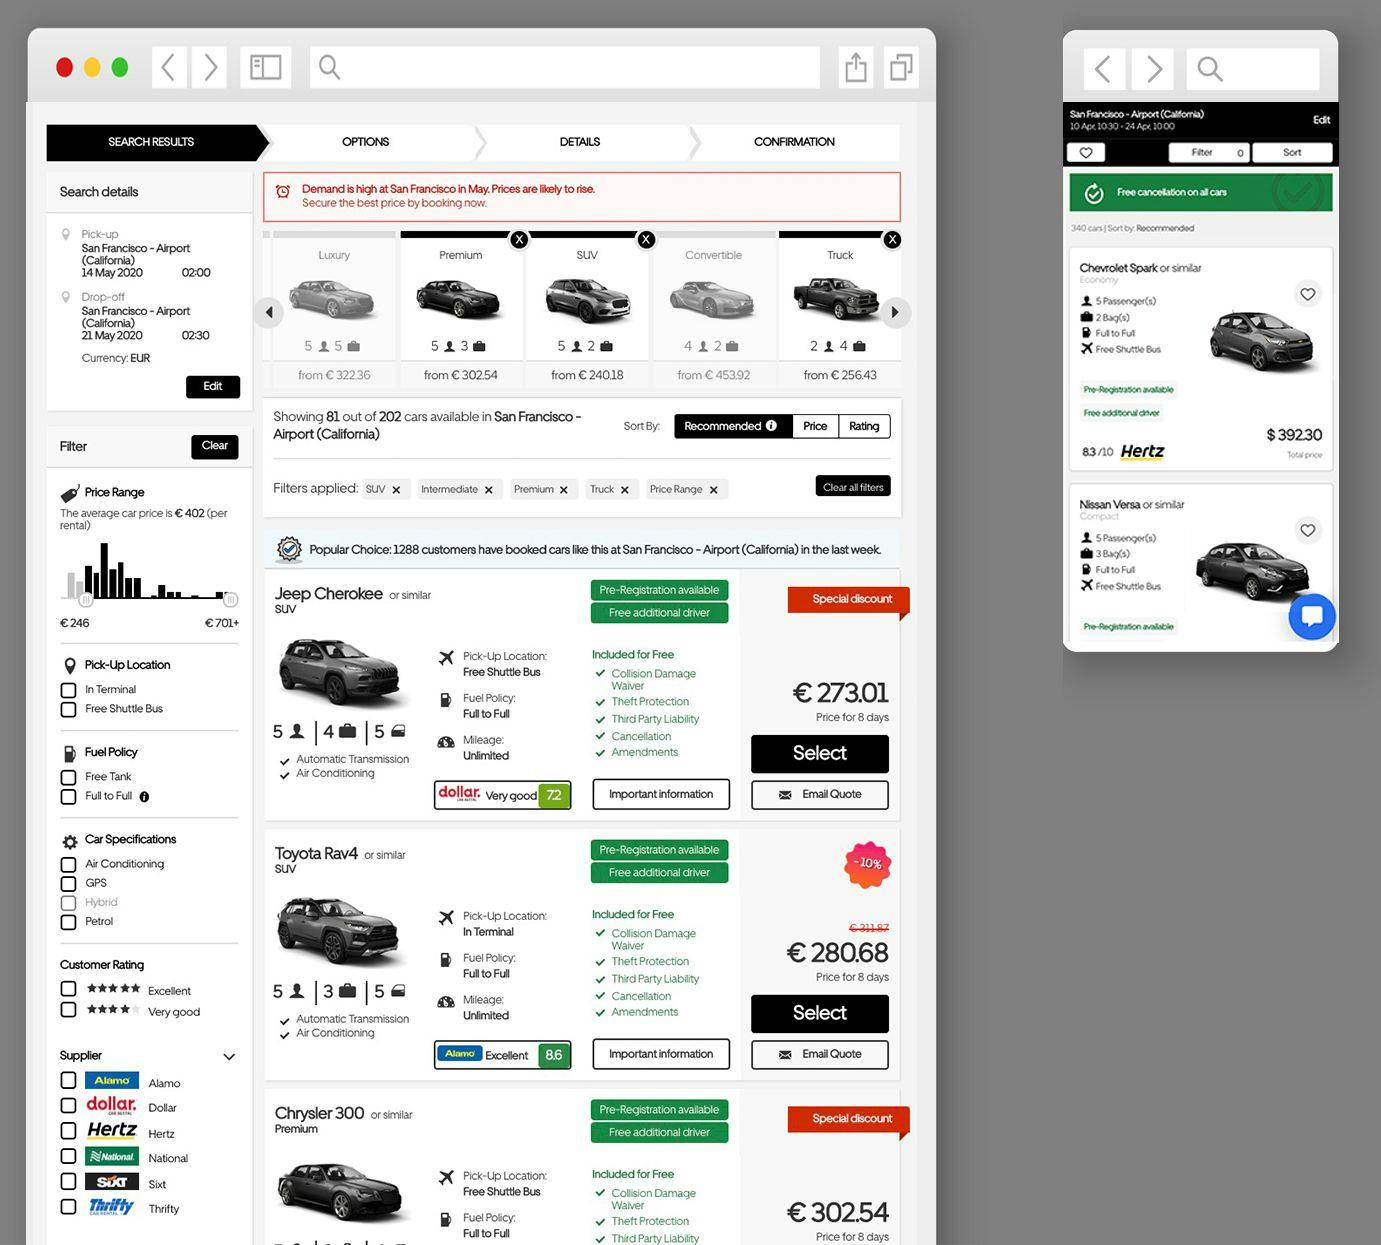 Search results with the dark colors dynamically applied.
See it in action
Check out an interactive CodePen here to try out the color-changing option on a vehicle.
Conclusion
That's it! Instead of adding a watermark to our image, we are creating a paint layer for the areas where we want to dynamically change the color. With the help of imgix we can now dynamically serve these images without compromising performance or having any additional JavaScript, CSS, or image calls within our page.